Showing posts with label 3D modelling. Show all posts

Wednesday, 20 August 2014

Extrude from a spline

Create a spline with the ep cuve button

right mouse click to edit the vertex


create a shape. A cylinder in this case.
select the polygon to extend and the spline and press the extrude button

after the extrusion, it will look like this:

Go to the right panel of the shape or spline. Add divisions.

Mini Van modelling - wip part 2


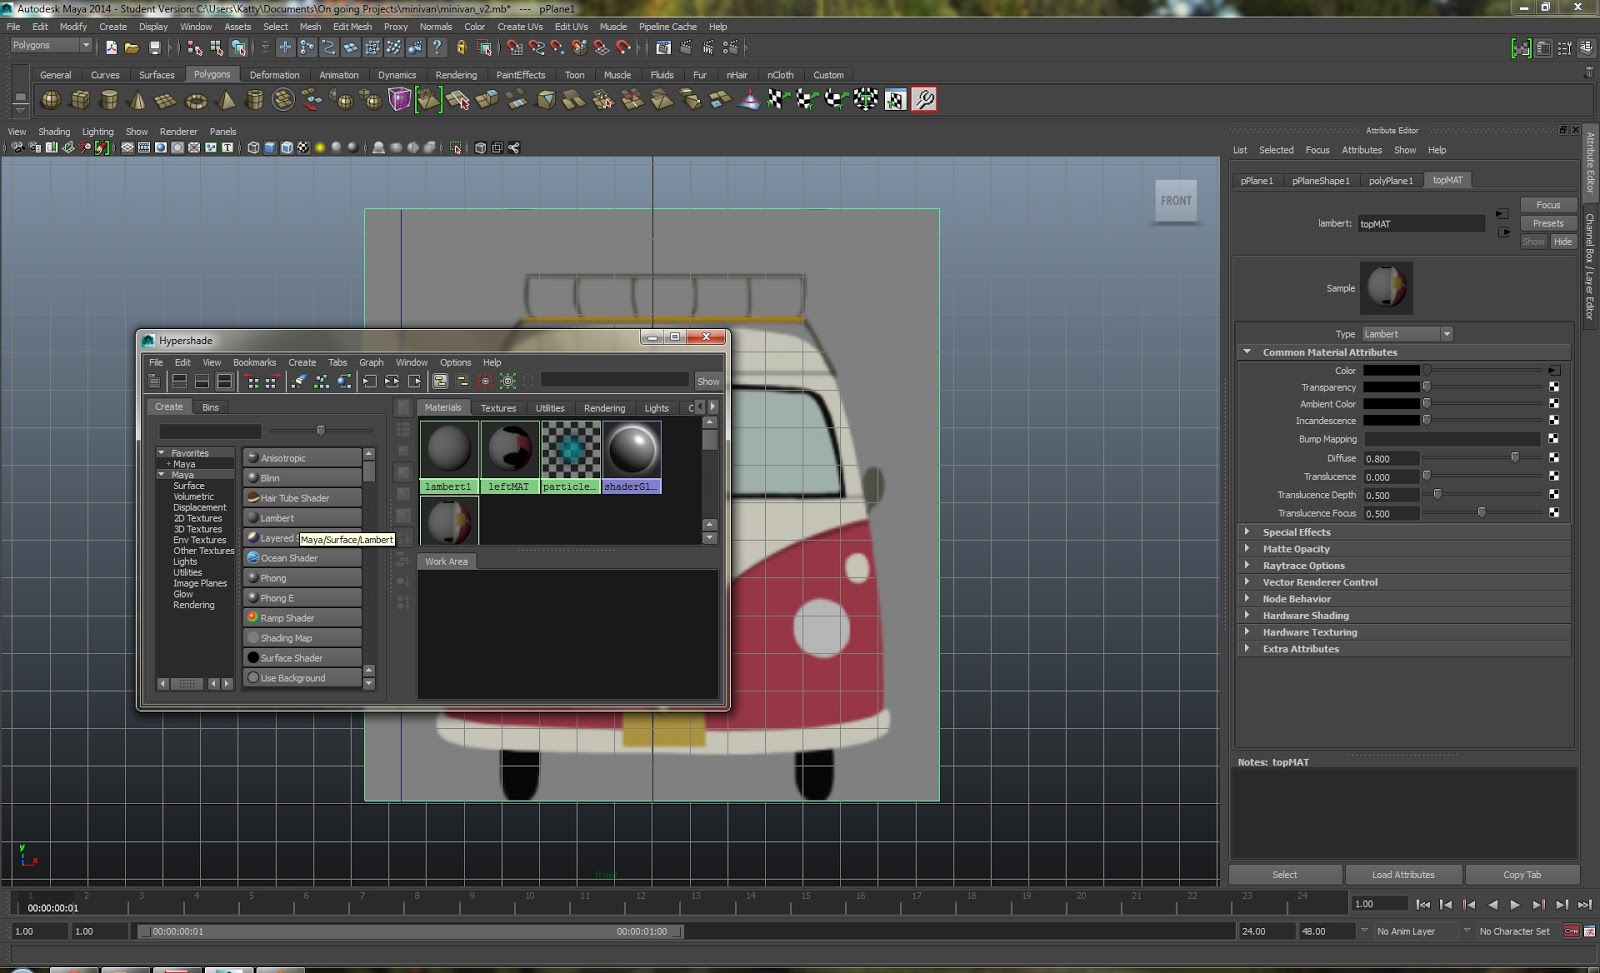
Material in Maya

To apply a material
In the hypershade window, middle mouse click on material and drag to object
or
left mouse click on object, asign new or existing material

Sunday, 17 August 2014

Render wireframe in Maya

Here is a nice tutorial about how to render the wireframe in Maya:

http://nealbuerger.com/2013/06/maya-2014-wireframe-rendering-using-mental-ray/

The shading groups are accessible in the hypershade window.

Monday, 11 August 2014

Unwrapping and in Maya

Unwrapping
Window -UV Texture Editor


automatic uv projection


edit unwrap
right click on object and select UV

save uv


Here is an amazing software I found to unwrap insteand of unwraping in Maya. It also work for 3ds max, but you need to install a 3ds max plugin for the obj's import and export.
http://www.pullin-shapes.co.uk/page8.htm


Saturday, 2 August 2014

How to deform objects in Maya

You can use the lattice tool to deform object in Maya.

1.Select the object to deform

2. Activate the animation menus

3.Open the Create Deformers menu
   click on Lattice

4. In the right panel, have the attribute editor opened.
    You can adjust the latice divisions

5. Hold right button mouse add select Latitce point

6. Now you can edit the points and move them as needed to remake the shape.

7. When you are satisfied with the result, go to edit- Delete All by Type- History
     The latice shape will be cleared


Tuesday, 29 July 2014

Maya tips and shortcuts

Reposition pivot point


Press Insert on the keyboard.

hold V and move the pivot to activate snapping

Press Insert to exit edit pivot mode.

snap the object from it pivot point to a grid line
X + move with move tool

Smooth preview
number 3 on keyboard

Normal preview
number 1 on keyboard

object view
select an object and press F

extrude in one axis
click on extrude
press W to make the axis appear

Access a window stuck in another screen
With the window we want activated, press alt+ spacebar
press the down arrow button two times
press enter
move with the arrows in the right direction until you can access the window

access edit menus
spacebar
shift+right click
W+left click

center pivot
spacebar-modify-center pivot

combine two separate objects
select the multiple objects to combine with shift
mesh menu- combine

Monday, 28 July 2014

cartoony house modelling

I decided to wait a bit before modelling my mini-van. I don't know much about Maya tools, so before going into modelling for real, I will follow this little tutorial going through Maya tools.


Actually, this tutorial seems to have quite a nice batch of tutorial for beginners.

My reference pictures:

The house base shape

Here is a preview of the house with most of it parts. I still need to add some details. I want to add a chimney and I still have the roof tiles to make.

 With the roof details.

Done with the modelling. I really want to deform the house like in the tutorial, but it does not show how to. I will need to look elsewhere to learn how to do it.

Maybe I can use this tutorial to deforme the house:

I used the lattice tutorial and successfully deform the house by applying two lattices. One for the roof and another for the house and chimney. I also re-scaled the sides of the gabbles for a better style consistency.


Now, it is time to add colors with simple shaders.

I don't know about the shaders. It kinda looks bleh...
I will add the lights and make a render to see if it gets better.
It will be easier to adjust the colors too. I haven't add specular and all too, so it is basically plain shaders.

Final Result! I am very satisfied with this exercise. I had quite a hard time controlling the light and the shadows. They often looked out of place, but I think that with do.

How to setup your image references


I am sharing my Maya methodology to setup planes.

First, I import a temporary image by going into View- image plane- import image...

I import the front view.


In front view, I create a plane and make it the same dimension as the imported image
Then, you can delete the imported image and conserve the plane.


Redo the steps for the profile plane.

Now, we will apply materials so that we can see own blueprints.
Window- rendering editors- hypershade

Add a new lambert material

Right panel, edit the lambert.
Click on the checker logo next to color.
In the opened create render node, select file. 

In the right panel again, click on the yellow folder logo.
In the open window, chose the file you need.
Repeat the material processus for the other plane.

If you can't see the pictures, make sure the two buttons in the picture below are activated.


Final setup ready for modelling:)

Bedroom modelling

work in progress of a bedroom

Blocking

Adding secondary objects

Finish modelling

Lighting test with vray

Saturday, 26 July 2014

Zbrush alpha making

http://www.cgarena.com/freestuff/tutorials/zbrush/sculpting_series/index_part5.html

Mini Van modelling

2014-07-26

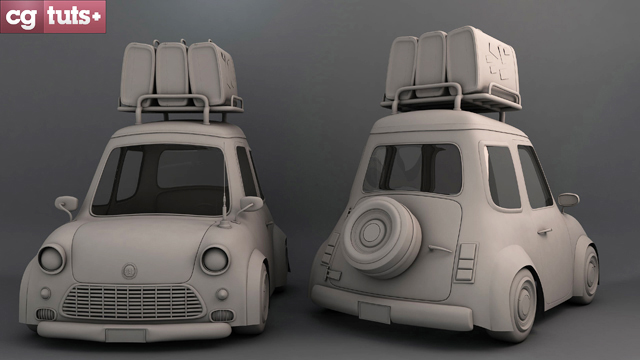
This is the new tutorial I am planning to follow:

http://cgi.tutsplus.com/tutorials/create-a-stylized-car-in-maya-the-complete-workflow-part-1--cg-16921


 I did not touch Maya much, so I decided to model a complex object using Maya and a tutorial to learn the tools.

1. My reference board:


I will model my own car inspired from mini vans.

2014-07-27

2. A little sketch of the van before the modelling phase.


Welcome to my personal blog. You can see my work by surfing in the portfolio section.